Breaking, Joining and Colouring Polygons
Begin
Start the robot demo by moving the mouse to the top left corner of the 3d window and selecting nurbs lathe avatar demo:
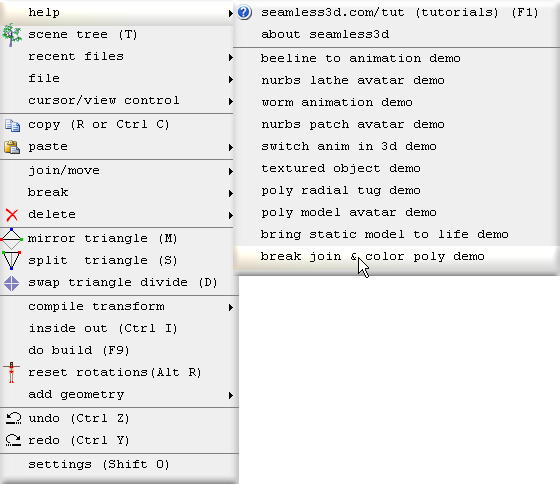
All of the titles for the robot demo operations will be shown here in bold beginning with the operation number followed by the title itself. Any comments for the operation will be explained under the title.
0. Create a new Seamless file
Click on the new smls file button1. Add some triangles
Add some triangles by adding a RectangleBuildSet the RectangleBuild's staves and bands to 2 then right click on the part node and select:
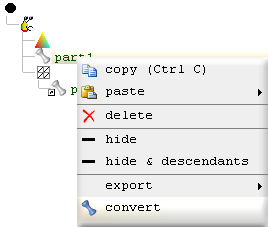
So that the white part gets converted to a blue part and the RectangleBuild node that generated the triangles is removed. This allows us to be able to edit the triangles without the RectangleBuild node regenerating the triangles from scratch each time a build cycle is performed.
Editing triangles directly this way is known as "poly modelling".
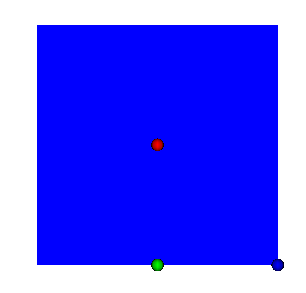
2. color triangles blue
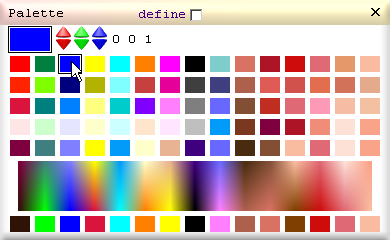
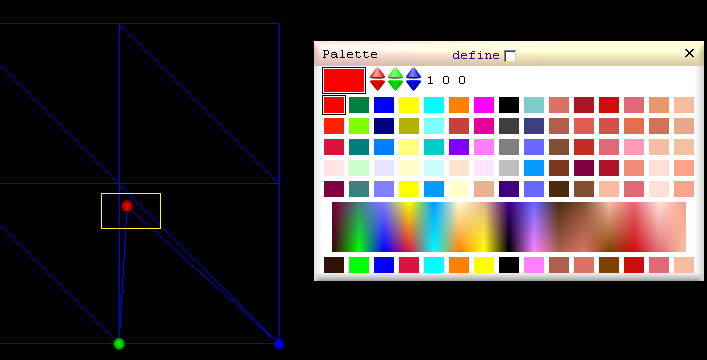
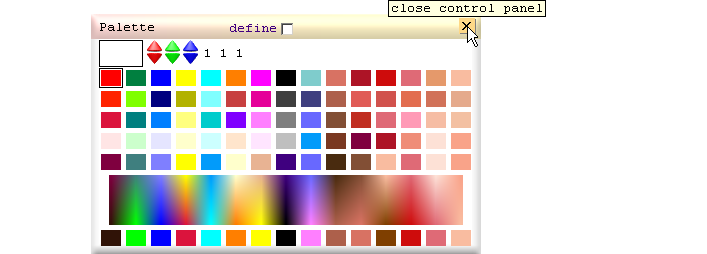
To color all of the triangles blue first open the palette control panel by clicking
Click on the blue cell:
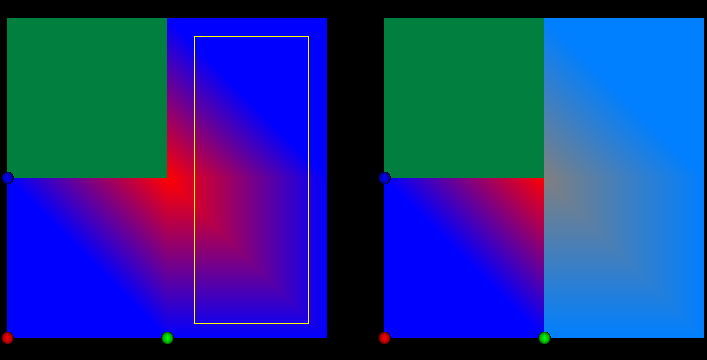
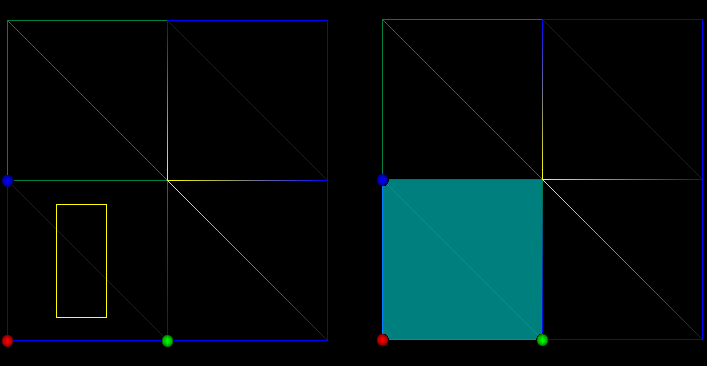
Hold down the left shift key and drag from the upper left corner of the triangles to the lower right corner of the triangles so that the yellow rectangle overlaps all the vertices.

All of the vertices inside the yellow rectangle are colored blue after the left mouse button is released.
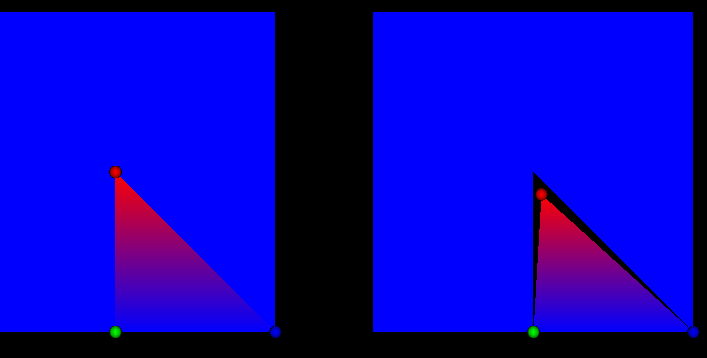
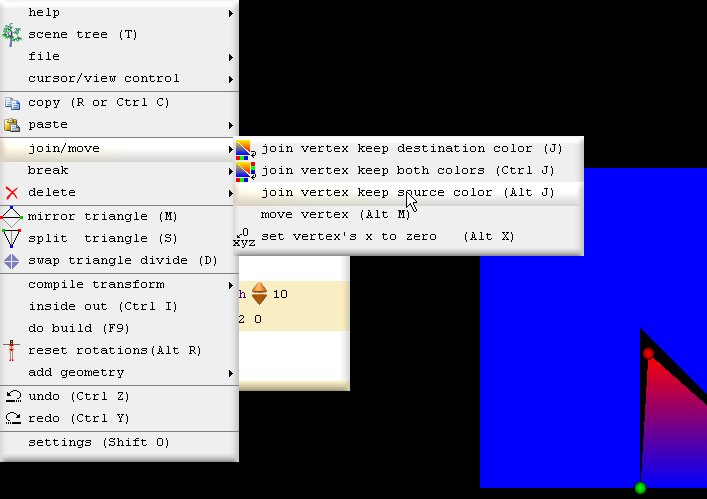
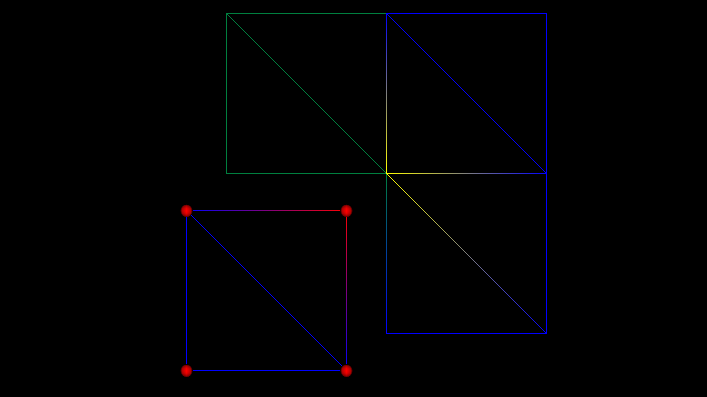
3. Break coord
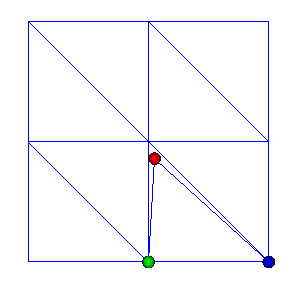
To select a triangle hold down the left Alt key while clicking inside a triangle. The vertex that has the red dot is the selected vertex. Any vertex within the triangle can be selected by clicking it.
To break the selected triangle's vertex away from the other triangles click
4. Move vertex to nearest
To move the selected vertex to the nearest vertex, select: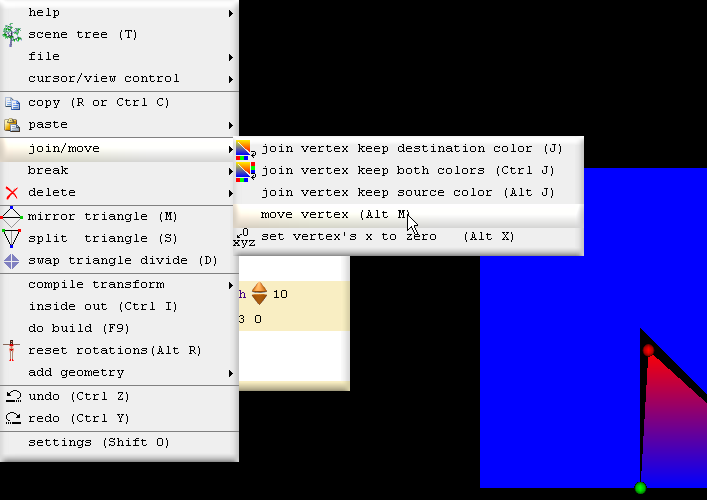
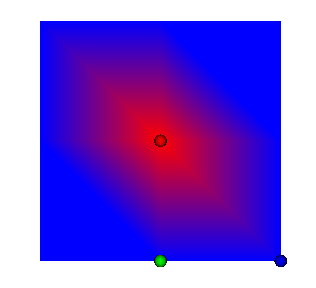
Because moving a vertex does not join it, if we drag it we will see the vertex remains free:
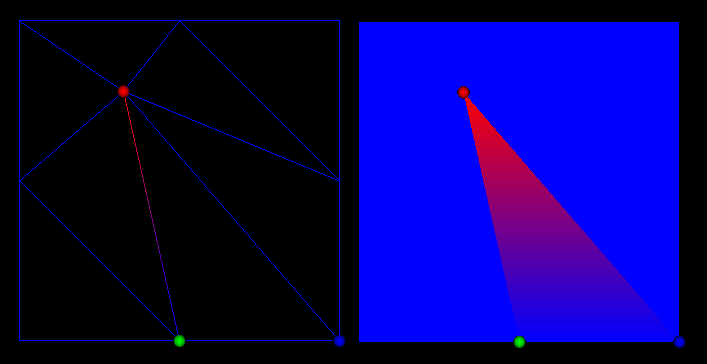
5. Join vertex keeping both colors
To join the selected vertex to the nearest vertex click
 :
:
6. Join vertex keeping only destination color
To join a vertex keeping only destination color click
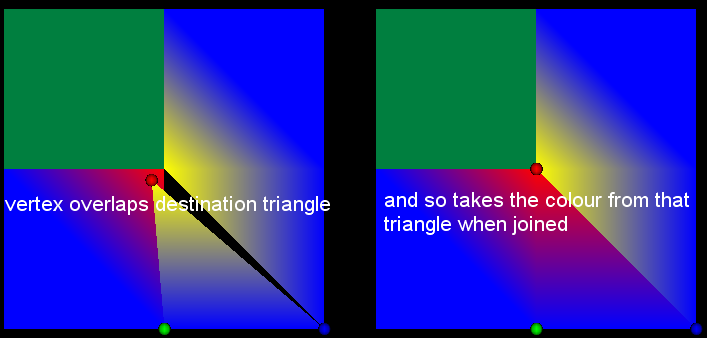
7. Join vertex keeping only source color
To join a vertex keeping only the source color (the selected vertex is the source vertex):
8. Clean edge paint triangles
Instead of breaking vertitices and joining them back to create joined clean colour edges, we can colour the triangles without breaking any vertices by holding down the right shift key (left shift colors vertices, right shift colors triangles) while dragging the yellow rectangle:
9. Clean edge paint vertex
In the previous operation we were forced into coloring all of the vertices in the selected triangles. If we want to color only some of the vertices, close down the palette control panel:
so that we can first select the triangles without coloring any of them:
Then reopen the color palette
. Now if we color
vertices using the rectangle selection tool (hold down left shift because we are
now coloring vertices not triangles), the only vertices that will be colored
will be those that belong to the selected triangles. This lets us create clean
edges between triangles without coloring whole triangles: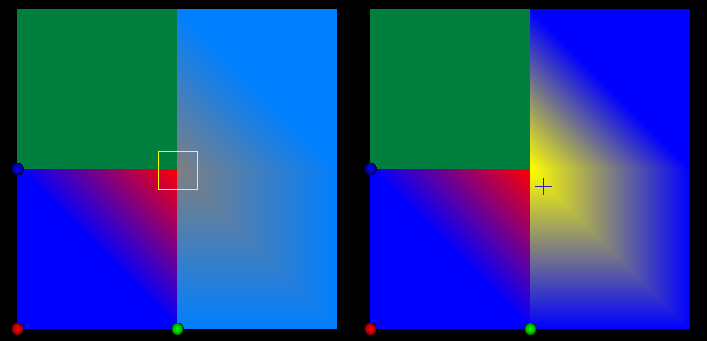
10. Specify join vertex destination color
We can detirmine which color a vertex will take its colour from when joining it to a vertex that is multi coloured by dragging the vertex inside the desired triangle's colour before clicking
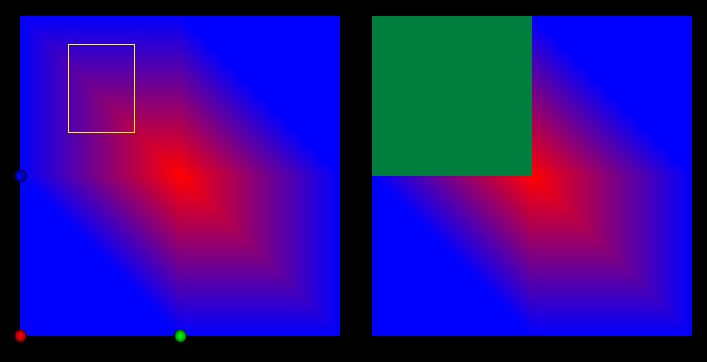
11. Break selection border
As mentioned in operation 9, to select multiple triangles without coloring them the palette window must be closed:
To select triangles (not vertices) the right shift key is held down while dragging the yellow rectangle:
To break the selected triangles away from the non selected triangles click
[3d Modelling Software] [Tutorials] [Forum] [Features] [Download] [Gallery] [FAQ] [Worlds] [Avatars] [Links] [Thyme]